
Summer 2021.
I was invited to compose music for a radio-theatrical project for a popular FM Radio in Greece.
It was a challenging project as each character’s emotions should be projected only via speaking and not by any movements or facial expressions.
So, before starting composing, I arranged to attend a rehearsal.
The director would guide the actors while reading the script.
It was a good opportunity for me to get deeper into the story and the mood I should capture for the various scenes.
And indeed, the experience proved really eye-opening for me.
The director was stopping the actors every 1-2 minutes and mentioned specific keywords and phrases.
He’s discussing how these fit in the general concept of the script and guiding them on how to express their emotions, in order to communicate the desired meanings.
The result was amazing.
I was hearing a dialog, but it was like I could see a movie scene in front of my eyes.
By implementing the various breathing & voice techniques, the actors could perform a scene without actually performing, just by speaking.
Really powerful.
And here’s the secret.
Most guitarists don’t realize though, that the same principles apply to guitar playing.
They spend most of the time learning (visualizing) scales, licks, or songs of their favorite bands, but they forget one crucial thing:
Our goal is not just to reproduce “correct” notes but to transmit emotions.
Just like the actors, we need to decode, learn and implement all the expressional techniques in our playing.
Otherwise, our playing will sound like a plain reading of a script.
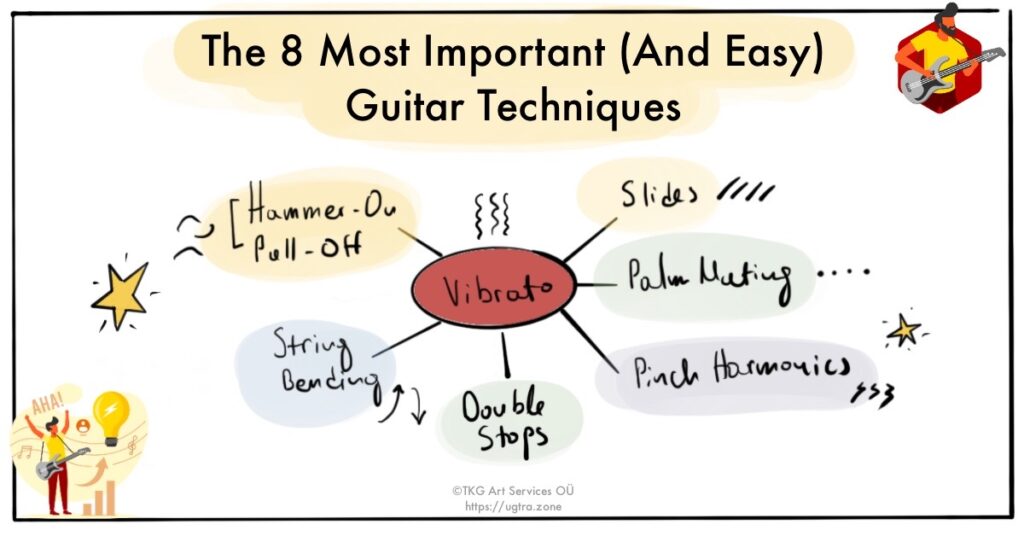
So, in this article, I get through the 8 most important expressional guitar techniques in detail.
If you master them, your lead playing will stop sounds flat and be enriched with emotions and colors.
Topics:
1. Hammer-ons
2. Pull offs
3. Slides
4. Palm Muting
5. String Bending
6. Vibrato
7. Double Stops
8. Pinch Harmonics

1. Hammer-On
A must for every guitar player.
Hammer-on is the technique where a note is created by a hammering action of a fretting hand finger.
Most of the time, this note follows a lower one on the same string, but it can also be “from nowhere” by hammering the finger on a string.
“Hammer-on from nowhere” is a more advanced technique, but very useful when changing the strings at fast legato passages or multiple string tapping.
The result is a smooth passage from note to note, the opposite of the articulated sound that is produced by the alternate picking.
Tips:
1. When connecting 2 notes with hammer-on, don’t rush the second one. Each note has a certain value (eight, quarter, etc.) that should be respected.
2. Use the tip of your fingers as close to the fretwire as possible to avoid any fret buzz.
2. Pull-Off
Pull-off is the opposite of the Hammer-on.
Pick the first note and then by pulling the fretting finger lightly downwards, pluck the string to produce a lower one (on the same string) without picking the string again.
If the lower note is not an open string, then you need to have another finger already in position, fretting the lower note, before executing the pull-off.
The result is the same smooth sound as with hammer-on, the difference though is in the melody direction.
At the hammer-on, we have an ascending movement, while at the pull-off a descending one.
Tips:
1. As at the hammer-on, don’t rush the second note. Respect the note values.
2. Don’t press hard when pulling the string downwards. You’ll end up with an out-of-tune line.
3. Slide
The slide is a very common technique, used by all guitarists on all levels, all the time.
Think about how you glue some words when speaking your native language.
You may remove (or add) some letters, instead of articulating each one.
The same happens in music.
Articulating every single note will give a more “mechanical” result [which might be the desired effect in some cases – see Alternate Picking].
But when you need a more “fluid” effect, the slide technique (along with other legato techniques) becomes very handy.
Try to play a note and then slide your finger to a higher or lower note on the same string by keeping pressing it.
A “sliding” sound will be produced.
At the same time, your fretting hand will be transitioned to the new position, ready to continue from there.
[Click the link and learn how to connect all the scales shapes and play across the neck positions applying the Fretboard Passepartout Method]
Tips:
Don’t forget to keep pressing the string when sliding from the 1st to the 2nd note.
It’s crucial as in the opposite situation the sound will be stopped right after leaving the first note.
4. Palm-Muting
Palm-muting should not be confused with the “muting of the unwanted strings”, where the desired outcome is to eliminate the noise when playing (especially when using distortion).
It’s a technique where a note kinda “choked”, losing its roundness, by placing our picking hand’s palm side near the bridge.
It’s a very expressive technique, especially when playing riffs using distortion, but also when using clean sound at the higher strings creating a nice percussive effect (listen to everything from Al di Meola).
Tip:
1. Try to place your picking hand’s palm side near the bridge, otherwise, the notes would be “choked” too much.
2. Don’t press but rather place your palm on the strings to leave space for some harmonics.
5. String Bending
String bending is one of the favorite techniques among guitarists.
You can hear it in endless licks from guitar heroes of all styles.
It’s a vocalized, expressive technique that can transform your playing.
Play a note and then bend the string to reach a higher pitch.
all the in-between microtones will be produced.
It’s almost the same as playing a fretless instrument.
This is what makes string bending unique.
It’s the only one that can create this effect (along with the whammy bar of course, but in this case, the particular accessory is necessary).
Tips:
1. The basic fretting hand technique demands the thumb to be always placed behind the guitar neck, somewhere behind the first & the second finger (it depends on each one’s fingers physiology).
Sting bending is an exception to this rule.
Our thump needs to grab the guitar neck and help the fretting fingers to push the string upwards.
The secret is for the thumb to alternate between these 2 positions depending on what you play.
2. Use your 3rd finger at first and then support the movement with the 1st and 2nd ones.
3. Keep in mind that string bending connects 2 notes that have specific note value and pitch.
A common mistake is to create slightly out-of-tune notes by not using the right amount of pressure to reach the desired pitch.
6. Vibrato
It is said that the vibrato technique is the fingertip of the guitarist.
It can indeed ruin or sky-rocket your electric guitar playing.
If you play a sophisticated, hi-tech lick but you end with a poor vibrato, then all the lick will be destroyed.
On contrary, if you play a simple 2-3 notes melody ending up with a very expressive vibrato, then the result will be professional and beautiful.
There are many kinds of vibratos depending on your playing style: vertical, horizontal, slide and using the tremolo bar or the Floyd rose.
I always suggest starting with the vertical one.
The secret is to see it as a series of bends (see the bending technique above).
Place your thumb above the guitar neck (an exception to the basic fretting hand technique).
Use your third finger at first to bend the note while supporting the movement with the first & second ones.
Move back to the starting position when releasing the bend.
Repeat the procedure.
Remember the vibrato is a series of bends.
Tips
1. Execute the bends/releases on time. I always choose a not-fast note value to create a more dramatic effect.
2. Return always to the starting position (starting pitch) when releasing each bend. Otherwise, the vibrato will sound out of tune.
3. Keep it wide. At least bend a half step from the starting note, with the optimum to be a whole tone.
7. Double Stops
Double Stops are another essential guitar technique.
You can hear your guitar heroes use it on your favorite songs all the time.
A double stop is produced when you play two or more notes at the same time.
It’s very common in rock music to choose notes from the pentatonic scale on adjacent strings.
It gives an aggressive, punchy, and sometimes percussive sound.
Listen to Jimi Hendrix, it’s everywhere in his paying.
Tips
Try to play both strings at a single pick stroke to sound both notes almost at the same time.
I enjoy most of the time using both pick and fingers, instead of s single stroke though, because the notes sound simultaneously, giving a nice effect when playing with overdriven sound.
8. Pinch Harmonics
Even if it’s considered a tricky technique for beginners, pinch harmonics are easy to execute if you know what you’re doing.
The key is to hold the pick correctly.
Place your pick between your fingers as always, but this time hover your thumb a little bit over the pointy tip/ edge of it.
Then, when you pluck the string, use your thumb to slightly touch the string right after the pick stroke, stopping the vibration of the string.
The result is an aggressive, scream-like sound that will enrich your expressional vocabulary and transform your lead playing.
Tips.
1. Use the edge of the pick to pluck the string and immediately use the side of your thumb to create the pinched harmonic. The secret is to think of it as a single movement.
2. Use your bridge pickup, the tone knob all the way up, and a good amount of distortion at first.
3. There are “sweet spots” on the strings where pinch harmonics are rich and executed easily. Choose a note (I suggest beginning somewhere between the 5th and the 7th fret on the 3rd string) and move your picking hand horizontally until you find the sweet spot.
Once you learn how to make it, it’s easier to reproduce it to different strings and frets.
That’s it.
These are the 8 basic guitar techniques.
But this is not the end.
If you really want to take your playing to the next level, you should master all the advanced guitar techniques as well.
Like all the contemporary advanced guitarists do.
I’m gonna get through all of them in the second part of this article.
You’ll learn everything about Alternate Picking, Legato, Sweep/Economy Picking, String Skipping, Tapping, and Pick & Fingers.
Ready?!